ZELLIGE, DEFINITION AND INSTALLATIONWe also offer pre-positioned flexible or rigid panels, which facilitate installation
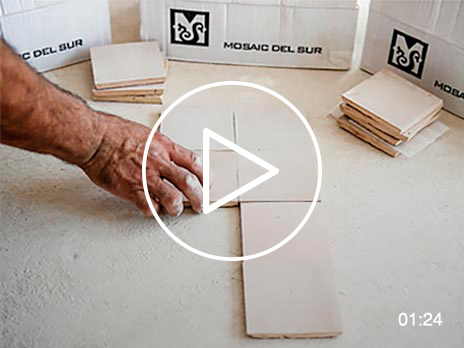
Randomly mix tiles with different tones and textures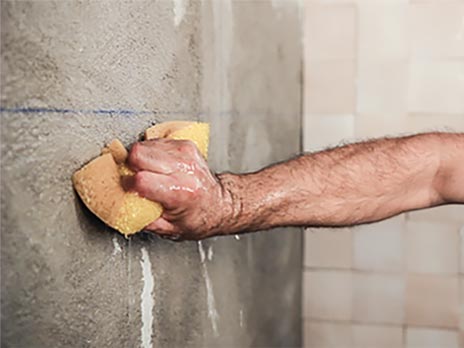
Use adhesive cement for ceramic tiles.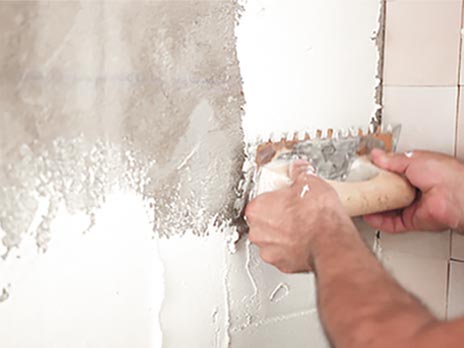
Apply on the wall.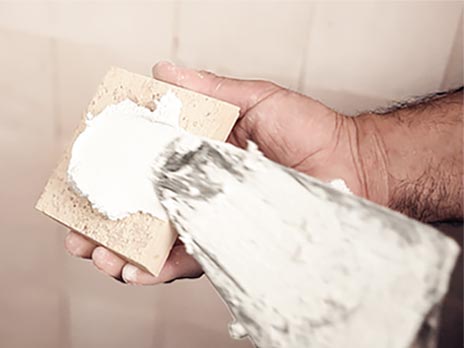
Apply on the back of the Zellige tile.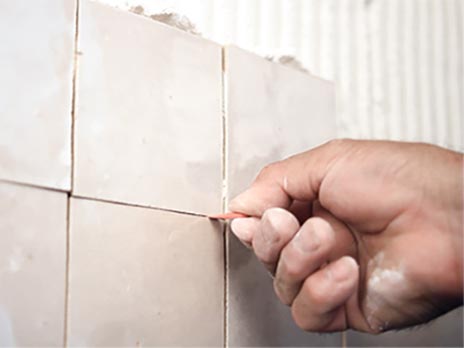
Position each tile, adjust grout space and adhesive thickness.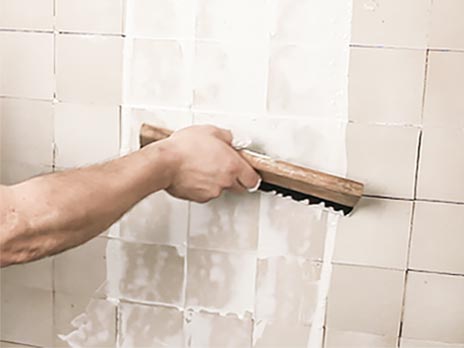
Spread the liquid joint cement.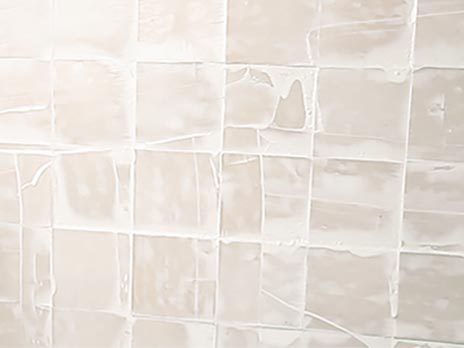
Insist on filling the spaces between tiles.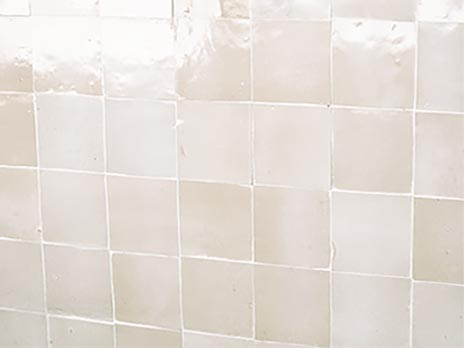
Remove excess cement by rubbing with a dry cloth.
-
Zellige, definition
Zellige are Moroccan tiles, crafted one by one from non-refined natural clay extracted in the region of Fez (Morocco). This clay is mixed and kneaded with water, moulded by hand, dried naturally and kiln-baked. The glazing (vitreous compounds and mineral pigments) is applied on the tiles, then melted/vitrified, resulting in multiple semi-transparent, metallic, pearlescent or opaque shades.
The essence of Zellige is the irregularity of surface appearance, tone, flatness, shine, depth and colour. Each Zellige tile is unique.Zellige maintenance
Glazed Zellige tiles are of easy maintenance, cleaned like any other glazed clay tile.
On the other hand, “metal” Zellige Metal Colors: Tiles covered with a very thin metallic film of Golden, Copper or Silver colour. The tiles are then protected with a synthetic varnish. requires special installation and maintenance. Contact our customer service team for more information.Outdoor installation
Zellige tiles, like other enamelled ceramics, are not affected by sun or UV exposure. Quality of the subsurface and installation (using suitable grout and adhesive for outdoor use) will help the tiles deal with thermal shocks.
Resistance to frost will depend on the waterproofing of the grout and stability of the bonding between tiles and subsurface, to prevent water from infiltrating.
Zellige tiles are regularly used outdoors in areas with a mild climate. We do not recommend using Zellige tiles outdoors in areas subject to frost. -
Zellige Tile Installation
- Before installation, mix the tiles with their different shades to compose a random and harmonious panel.
- Prepare and level the wall before installing the Zellige tiles.
- Evenly apply flexible adhesive for ceramics on the surface to be tiled as well as on the back of the tile. Silicone can also be used to fix Zellige tiles.
- Position the tiles by hand, leaving a narrow gap, and adjust tile placement with the adhesive depth and grout space, looking for the harmony of the installation. With complex designs, more adjusting may be needed.
Floor installations: leaving a small grout space will help compensate for movements.
Panels: As with Zellige tiles, variations in size and shape are common. Each panel needs to be positioned by adjusting grout space and adhesive depth. Planning the layout is recommended.
- Once the adhesive is dry and the Zellige tiles are well fixed, spread flexible grout over the surface, with a rubber spatula, making sure that the spaces between the tiles are completely filled.
- Wipe off the excess grout cement with a damp sponge or cloth. Manually rectify any possible defects on areas that have been left without grout.
- Zellige tiles can be easily cut or bevelled using a diamond disk. Tile cutters can also be used but the results are less precise.
- When laid in direct contact with water: pools, showers (floors and walls), water features; please ensure that the sub-surface is waterproofed. Like other enamelled ceramics, covering a surface with Zellige tiles does not guarantee waterproofing. Humidity can filter through the grout or any surface irregularities.
Download our Zellige Installation Tips


